|
|
 |
 |
|

Internet Setup
Assistant |
A. Locate the 'Assistants' folder on your hard
drive, open it, and double-click on the Internet Setup Assistant icon. |
|
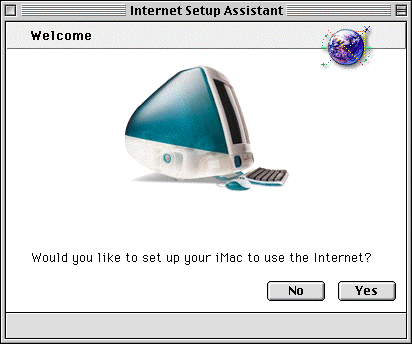
B. Click the 'Yes' button. |
|
 |
|
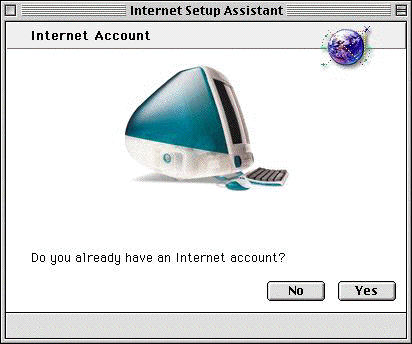
C. Click the 'Yes' button. |
|
 |
|
1. Click the right arrow button. |
|

|
|
2. Type finalcom.net and click the right
arrow button. |
|

|
|
3. Click the right arrow button. |
|

|
|
4. For Access Numbers Check the Access
Page
Your user ID is xxxx@finalcom.net
Your
password is xxxxx
When you are done, click the right arrow button. |
|

|
|
5. Select No and click the right arrow
button. |
|

|
|
6. Select No and click the right arrow
button. |
|

|
|
7. On the first line of the large box, type
216.238.0.10 and return.
On the second line of the large box, type
216.238.0.11.
The Domain name or host name will be finalcom.net
When you are done, click the right arrow button. |
|

|
|
8. Your email address is xxxx@finalcom.net
Your password is
xxxx
You
can leave the 'greater than' symbol in the last box
When you are done, click the right arrow button. |
|

|
|
9. Your email account is youraccountname.pop.finalcom.net
The
email host is smtp.finalcom.net
When you are done, click the right arrow button. |
|

|
|
10. Your Newsgroup Host is
news.finalcom.net
When you are done, click the right arrow button. |
|

|
|
11. Select the NO button.
When you are done, click the right arrow button. |
|

|
|
Conclusion. Click the 'Go Ahead' button and
your iMac will be ready for the Internet! |
|

|
|
|
|
|
|
|

